When your windows start showing their age through stubborn drafts, persistent condensation, or frames that refuse to budge, the need for replacement becomes undeniable. However, the path to new windows isn't always clear. Homeowners often find themselves at a crossroads: is this a project to tackle over a weekend with a toolbox, or is it a job best left to the experts? Understanding the nuances of the installation process is essential for protecting your home’s structural integrity and your financial investment.
How to Install Replacement Windows
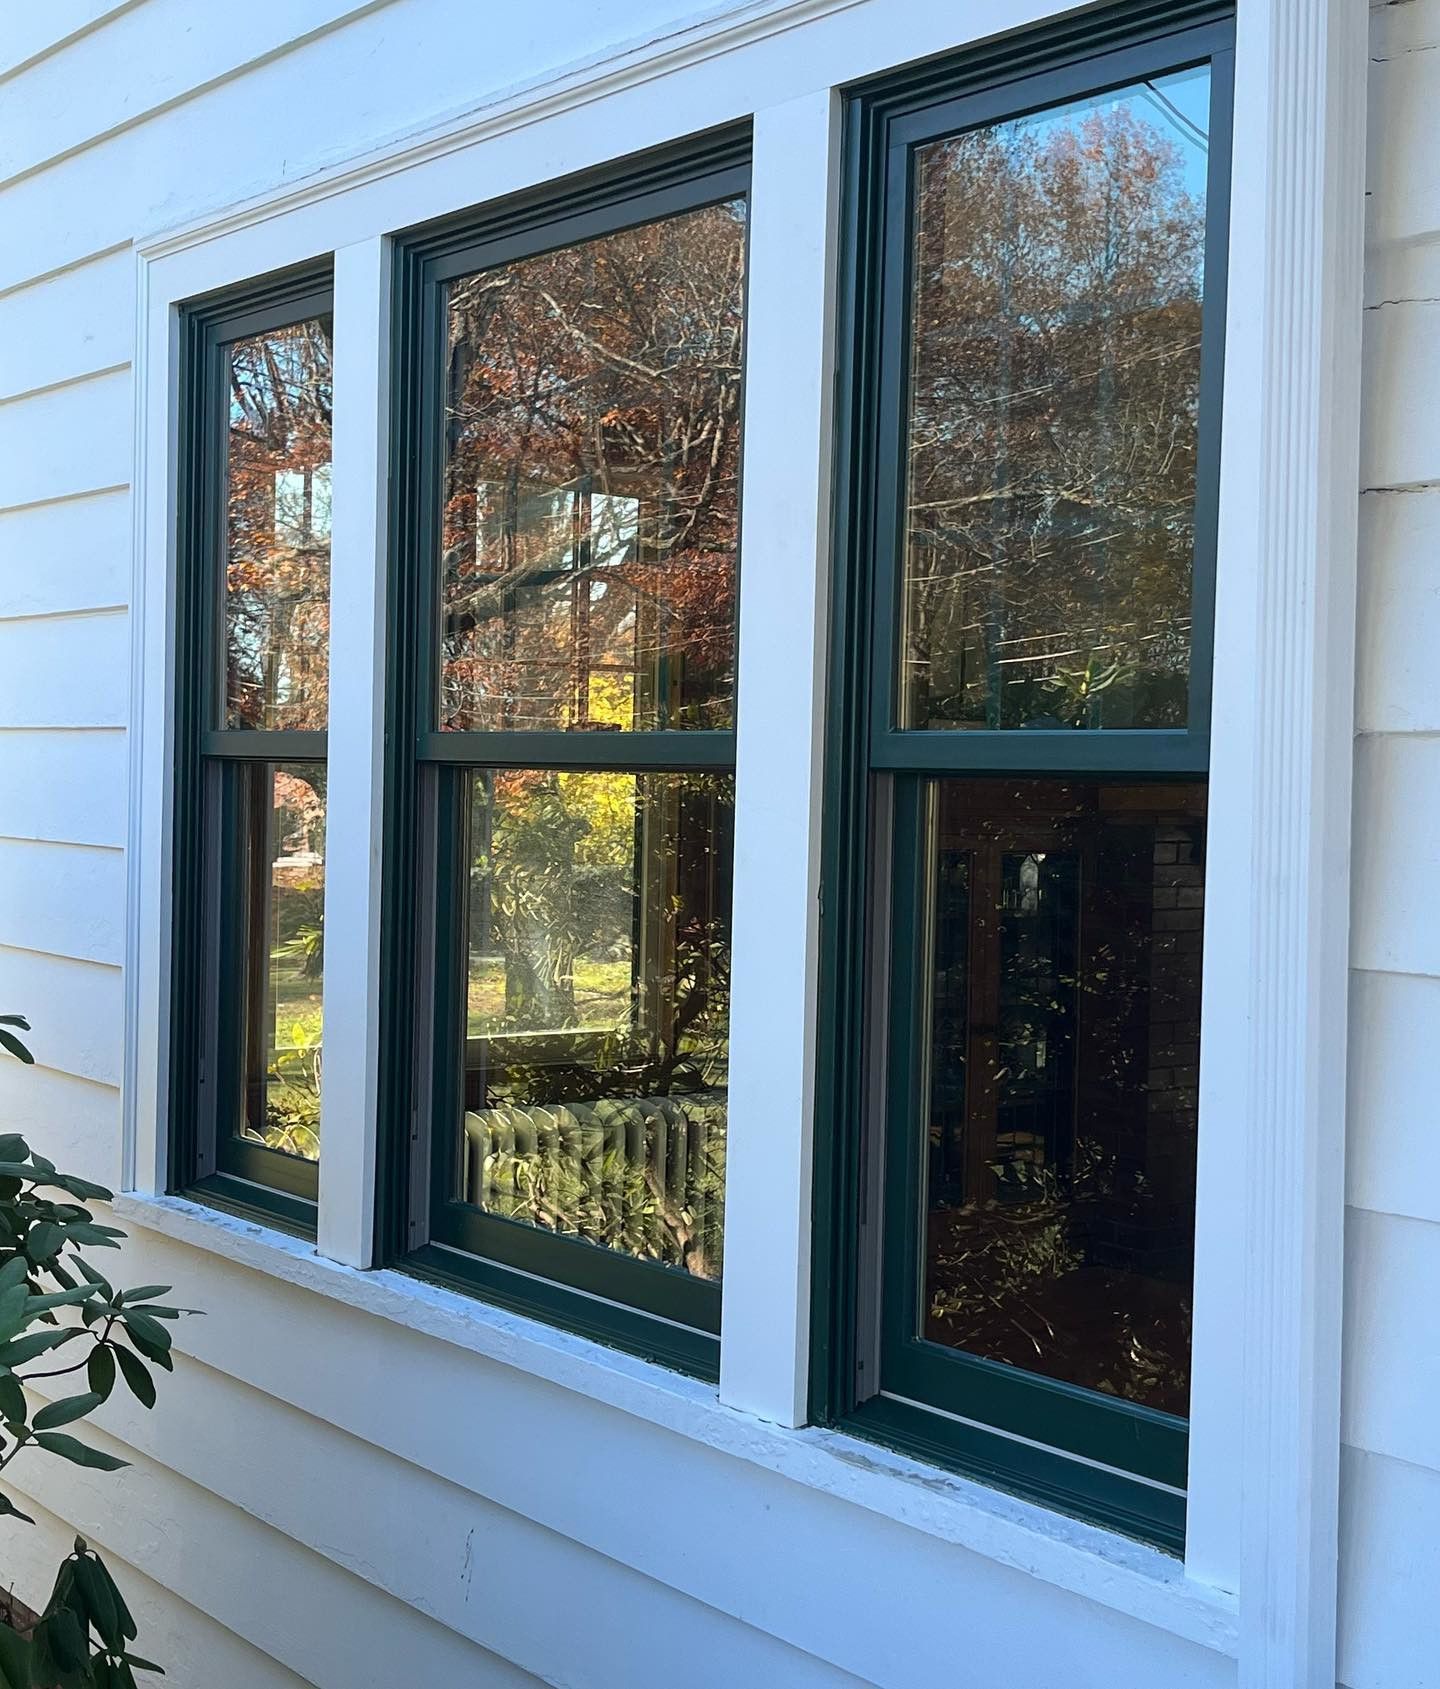
At a high level, the process of installing replacement windows involves removing the old window, preparing the opening, setting the new unit, and sealing it properly.
Here is what the typical installation process looks like:
1. Measure the existing window opening: Accurate measurements are essential before ordering replacement windows. Installers measure the width and height in multiple places and check whether the opening is square. Even small measurement errors can lead to gaps, air leaks, or a window that won’t fit properly.
2. Remove the existing window unit: The old sash, trim, and sometimes the entire frame must be carefully removed without damaging the surrounding structure. During this stage, professionals may discover hidden problems like wood rot, water damage, or shifting frames that need repair before installation can continue.
3. Prepare and inspect the opening: The rough opening is cleaned, leveled, and checked for structural issues. Shims are often used to ensure the new window will sit perfectly level and plumb. If the opening isn’t properly prepared, even a high-quality window may not operate correctly.
4. Set the replacement window into place: The new window is positioned in the opening, leveled with shims, and fastened securely according to manufacturer specifications. Precision matters here: an improperly aligned window can cause operational issues or premature wear.
5. Insulate and seal the frame: Installers add insulation between the window frame and the house structure, often using low-expansion foam designed specifically for windows. Proper flashing and sealing ensure water drains away from the home instead of behind the siding.
6. Finish the interior and exterior trim: Finally, the window is trimmed and sealed from both sides to create a finished appearance and reinforce weather protection.
While these steps may sound straightforward, each stage requires careful execution to avoid problems like air leaks, moisture intrusion, or structural damage. This is why many homeowners ultimately decide that professional installation offers greater peace of mind.
The Anatomy of an Installation: DIY vs. Professional
The foundation of a successful window replacement project lies in recognizing that a window is a complex system, not just a piece of glass in a frame. To install a replacement window correctly, one must master three distinct phases: preparation, precision fitting, and environmental sealing.
For the DIY enthusiast, the appeal lies in cost savings and the satisfaction of hands-on home improvement. If you have experience with carpentry, understand how to check for level and plumb in settled openings, and feel confident navigating exterior flashing, a DIY approach is possible. However, the learning curve is steep. Modern windows are engineered to tight tolerances; even a small deviation can lead to mechanical failure or air leakage.
Professional installation, by contrast, offers a level of precision that is difficult to replicate. Professionals bring specialized equipment and a deep understanding of structural load-bearing requirements. They are trained to identify hidden issues, such as wood rot or "racked" frames, that a novice might accidentally cover up, leading to moisture damage years down the line.
Precision Measurement: The First Line of Defense
Whether you are ordering windows for a self-install or hiring a crew, the process begins with measurement. This is where many DIY projects encounter their first hurdle. A "rough opening" is rarely perfectly square, especially in older homes.
Certified Master Installers take triple measurements, top, middle, and bottom, for both width and height, while also measuring diagonally to check for squareness. They account for the "expansion gap," ensuring the window has room to move as temperatures shift without bowing the frame. In a DIY scenario, a single miscalculation can result in a window that either won't fit or fits too loosely to be properly shimmed and sealed.
Materials Matter: The Role of Innovation
The quality of the window material dictates the difficulty of the installation and the longevity of the result. Traditional vinyl is lightweight but prone to significant thermal expansion.
Composite materials, like Fibrex®, offer a superior alternative. By combining the strength of wood with the low-maintenance properties of vinyl, these frames resist the warping that often plagues DIY vinyl installs. This structural rigidity ensures that once the window is set and leveled, it stays that way. When paired with High-Performance™ Low-E4® glass, the window becomes a powerful tool for energy regulation, but only if the thermal envelope remains unbroken during the installation process.
The Invisible Shield: Sealing and Weatherproofing
The most critical stage of installation, and the one most frequently botched in DIY attempts, is the sealing and insulation process. A window is only as good as the barrier between the frame and your home’s siding.
- Flashing: Water must always be directed away from the house. This requires a specific "shingling" technique where the top layers of flashing overlap the bottom layers.
- Insulation: Many homeowners make the mistake of using standard expanding foam, which can exert enough pressure to warp a window frame. Professionals use low-expansion foam specifically designed for windows.
- Thermal Bridges: A professional knows how to eliminate "thermal bridges:” gaps where heat can bypass the window's insulation. Proper sealing can improve a home’s energy performance significantly, a margin that is often lost in DIY applications.
Considering the Return on Investment (ROI)
While the upfront cost of professional installation is higher, the long-term value often tips the scales. Window replacement is one of the highest-ROI home improvements, but that value is contingent on performance.
Importantly, many robust warranties are only valid when the windows are installed by a Certified Master Installer. If a DIY-installed window fails or leaks, the homeowner is typically responsible for both the repair and any secondary damage to the wall studs or drywall. Professional installation serves as an insurance policy for your home’s value and provides you with absolute peace of mind.
The Professional Consultation: More Than a Quote
If you are undecided, the best first step is a professional consultation. This isn't just about picking colors; it’s a diagnostic event. A consultant evaluates whether you need an insert replacement (where the new window fits into the existing frame) or a full-frame replacement (which involves removing the trim and casing to inspect the underlying structure). Professionals can also manage building codes and permits, which can be a bureaucratic headache for a homeowner to manage alone.
Making the Right Choice for Your Home
The decision between DIY installation and hiring professionals involves more than just comparing costs. While professional installation represents an investment, the expertise and warranty protection it provides often deliver greater long-term value.
When you choose Renewal by Andersen, you're not just getting quality windows made with innovative Fibrex® material and High-Performance™ Low-E4® glass. You're also getting the certainty that comes with Certified Master Installers who follow proven procedures to ensure your windows perform for years to come. This combination of advanced materials and professional expertise ensures your investment will deliver the comfort and energy savings you deserve.
Schedule a Consultation